For a while, I’d been looking at options for a “small” lift for my jeep. Nowadays, there are an infinite amount of options, from leveling kits, to suspension lifts, to body lifts, offered by tons of different vendors. After setting a budget and evaluating all my options, I’d eventually settled on something. And then a post on wranglerforum.com changed my mind.
MetalCloak adopts the “Gold Standard”
Every once in a while, MetalCloak has done this special package where if you pay with 1 ounce of gold, they’ll sell you a 2.5” – 3.5” lift kit at a pretty good discount and give you free shipping.
So I went on the local hunt for gold, and eventually found a 1oz. gold bar, and shipped it off. A few days later, the lift was here in all its pieces and parts. It came in 6 separate boxes delivered by 3 different UPS trucks on the same day.
A few weeks later I finally had time to install it, with the help of “the Garys” from the Northwest Jeepcast podcast. I went over to Gary’s garage, which they call the “Mechan-hack shack”, where they had all the tools (and knowledge) to do the install.
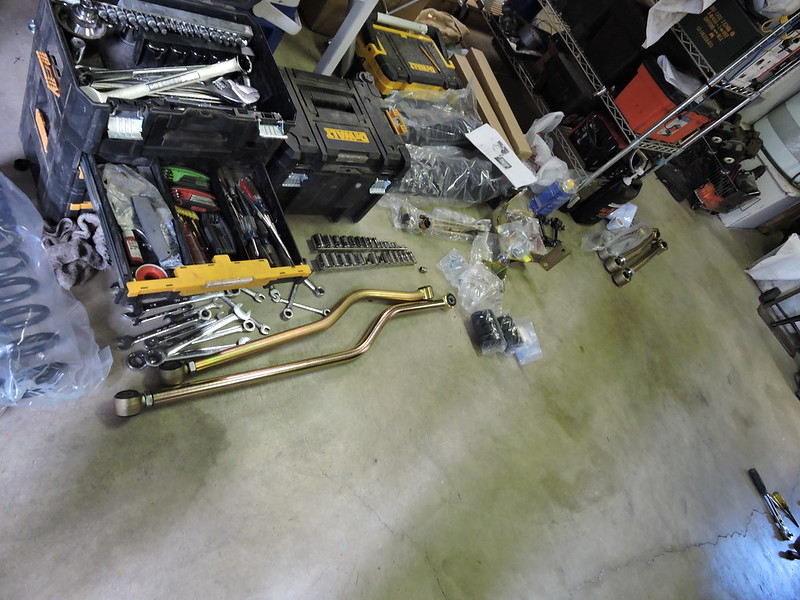
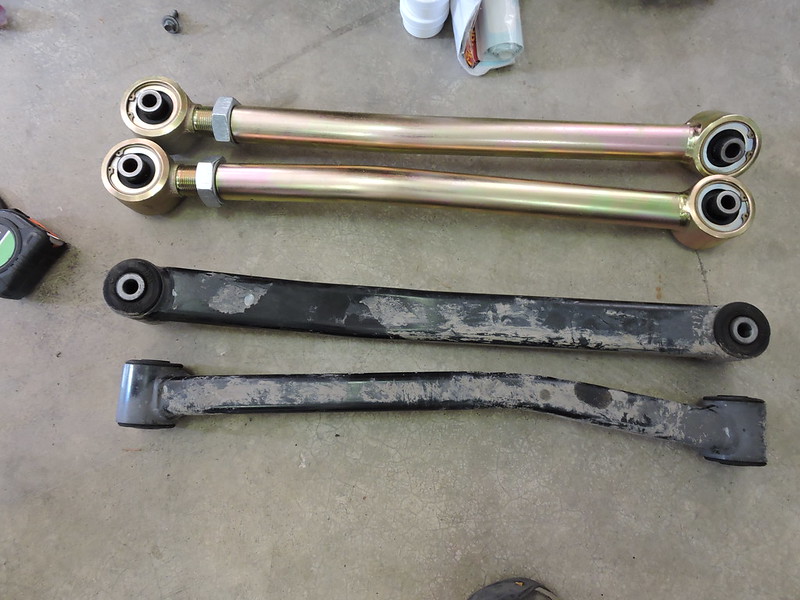
pieces, parts, and tools before the install. look how clean the floor is!
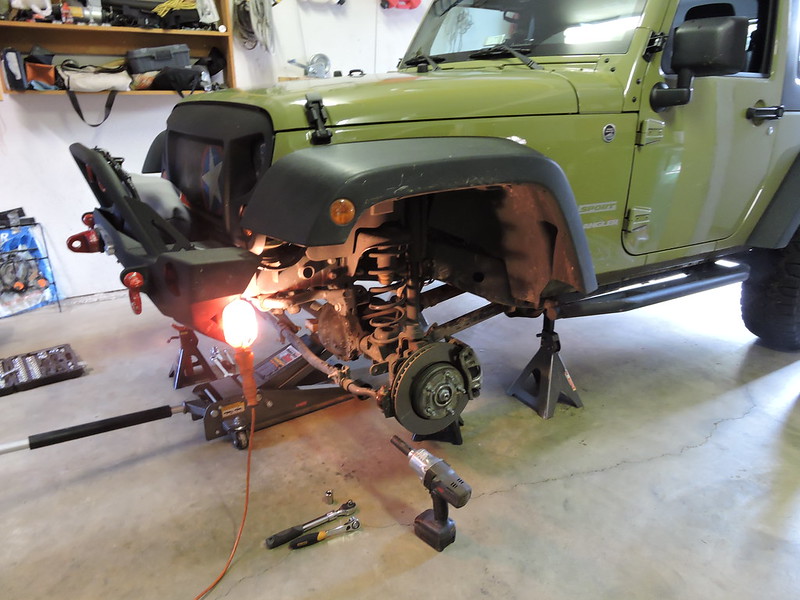
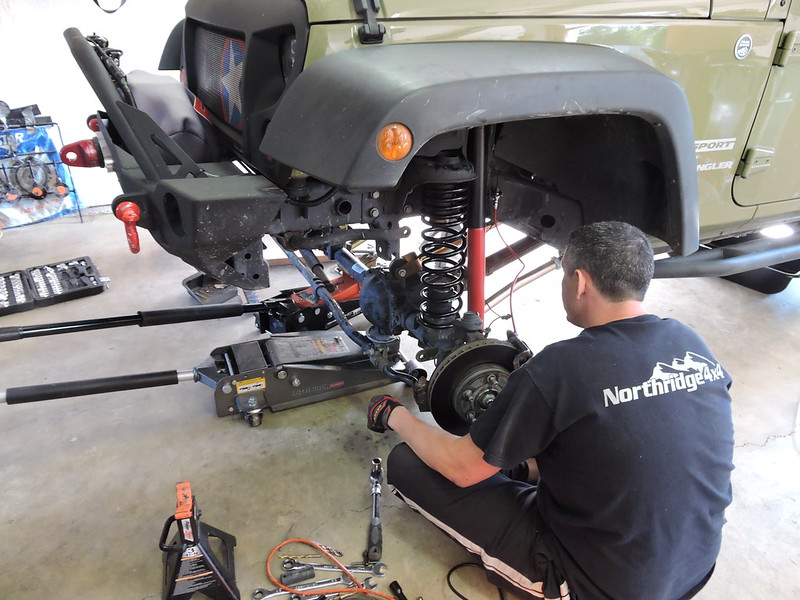
Work begins. the front wheels are off, the front end is up on stands, and a jack to hold the front axel while we start taking things off. a hilariously small amount of tools is out and on the ground so far…
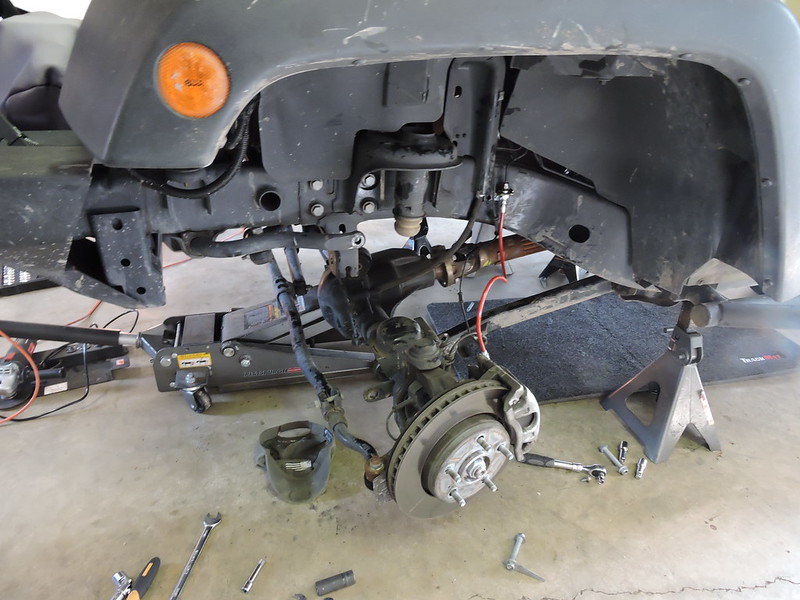
by here, a bunch of things are out, and we’ve already replaced the brake lines on this side with the new (red) ones. time to start putting things back together.
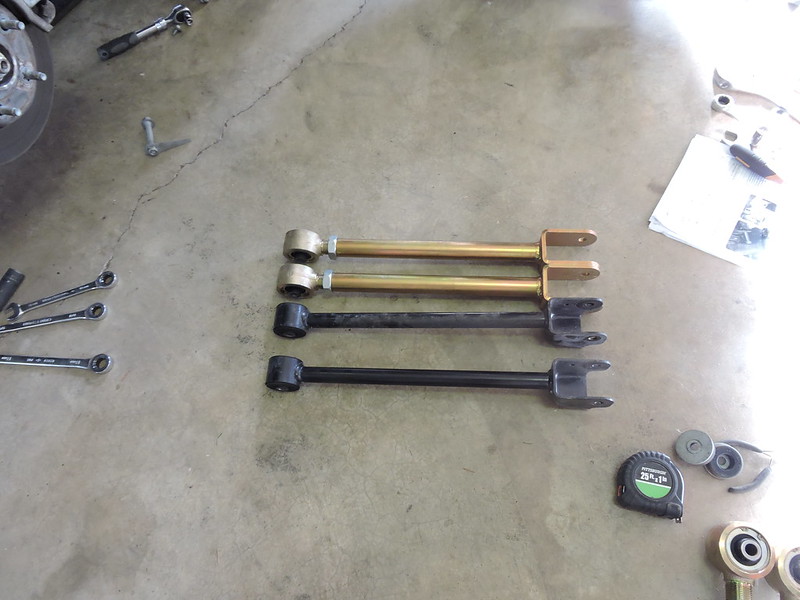
control arms comparison. the new ones are much cleaner, much shinier, much heavier and adjustable.
springs and bumpstops are in, and the shocks are going in. I swear every picture I got of Gary he looks like he is mediating. He might be, I’m pretty sure Jeep things are where he finds his Zen.
most of the install was pretty straightforward. I’d never done anything with brakes or suspension stuff myself before, but once you get things up off the ground and the wheels are off, most of the swapping out of parts is pretty self explanatory. the only thing that’s really a pain is that on the passenger side there’s part of a plastic piece of trim and the battery compartment that block you from getting tools at the top of where the shock goes. so that took a little while to dremel out just enough here and there to get everything out of the way enough to make room to get it all in. The only other issue we had was trying to get the new track bar in. the big bushings make it hard to just push into place, and lining things up wasn’t cooperating either. first we tried putting the bottom end in, then trying to align the top end, but we just couldn’t get things over far enough to get the bolt in. so we took it out, started the top bolt, then used ratchet strap across the frame to the axel to pull that end over just enough to get the bolt started. (I’ve seen some stuff online that the easier way is to actually do this step very last, with the wheels back on and with the full weight of the jeep on the suspension. then you can rock/push the body of the jeep in the direction you need to go instead of trying to push the axel+suspension hanging up in the air?)
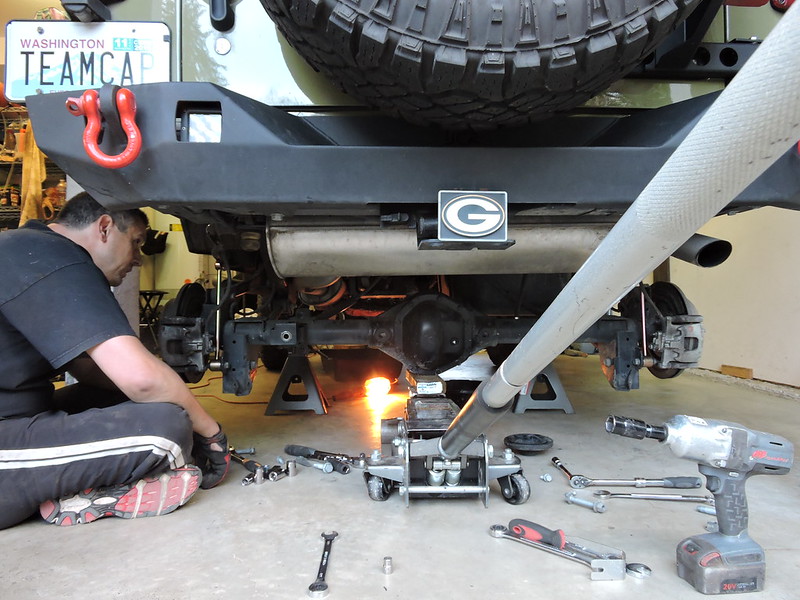
this is one of the few pics I got of the rear. by this time, I think Gary is contemplating which order to do things. the instructions have one order, but I’m pretty sure it turns out that if you do the track bar last, there’s a lot more room to get the springs in? if you do things in the order MetalCloak has in the instructions, then I think there’s the bump stops and the track bar relocation bracket in the way on one side, and bump stops and the track bar in the way on the other side.
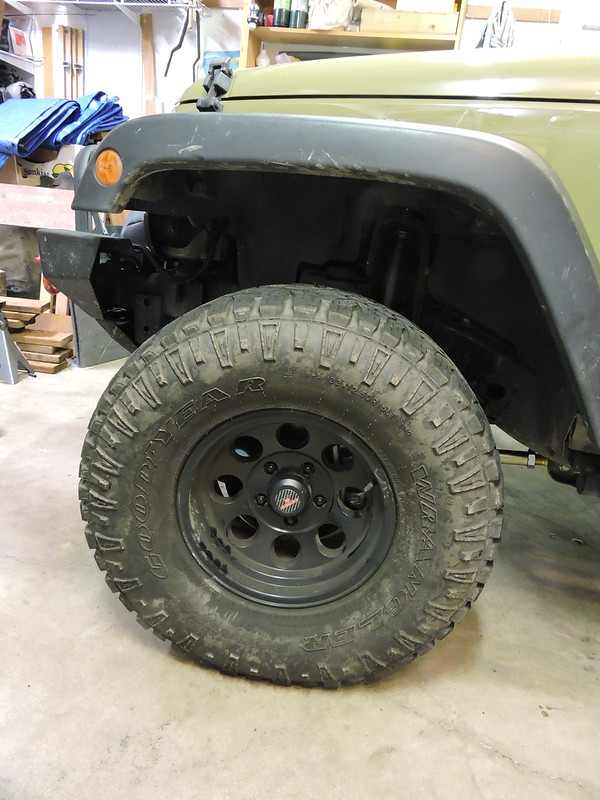
All done. that’s a lot more space between the wheels and the fender than I had before! all told, when we measured, we’d gained exactly 3.5” of height after the install, everywhere we’d measured. (I measured from the center of the wheel to the bottom of the fender, and then Gary also suggested measuring from the frame to the ground right behind the front wheel and right in front of the rear wheel.) We looked at the numbers stamped on the springs and the boxes to see if maybe we’d gotten the 3.5” lift parts instead. There was also the possibility that it was the 2.5” springs intended for a 4 door JK instead of a 2 door? The Monday following the install I called MetalCloak, and they told me that the numbers stamped on the springs are the 2.5” parts, that it would settle some, and that there was the possibility that the stock springs had already sagged some from having aftermarket bumpers+winch installed, and that the new springs were just probably handling that weight better. That’s a good enough explanation for me 🙂
If you want to hear a discussion of some of the MetalCloak parts, and a mini interview with me while we were doing it, you can check out the MetalCloak Game Changer installation episode of the podcast. (The kit I got isn’t quite the “game changer” kit they have, that comes with an additional set of replacement rear brake lines, and rear upper and lower control arms that the gold standard kit doesn’t come with. but we’d got the names wrong when we did the interview and they did the podcast.)
The one thing we didn’t get to when at the ‘shack was installing the brackets to hold the sway bar end links up out of the way when disconnected. it was something I could do in my garage by myself, and you don’t need to do it until you actually need to disconnect them. So a couple weeks later when I had some free time on a Saturday I decided to do them.
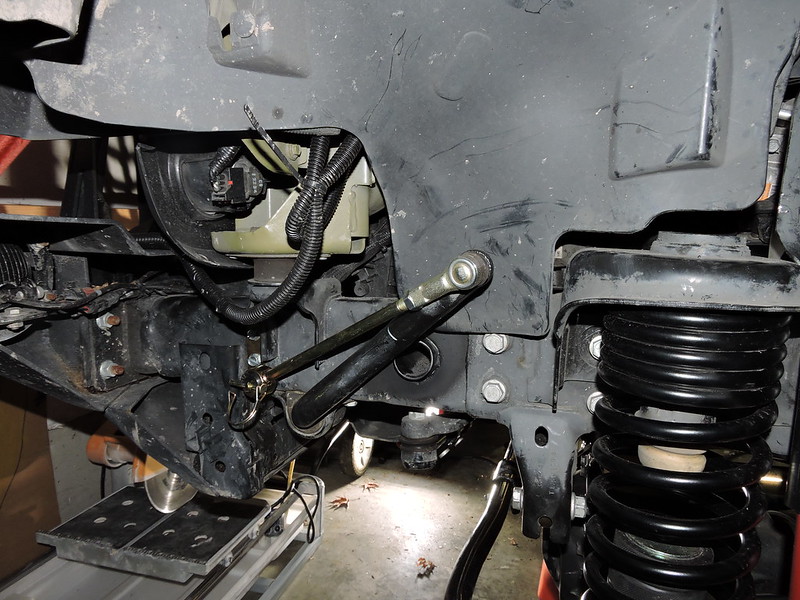
After disconnecting the sway bars, and getting the front wheels off, I started looking for the place to mount the brackets to hold them when disconnected. in the picture, they show the sway bar tucked way up underneath out of the way. so I tried to do that, and… it doesn’t go anywhere near that far:
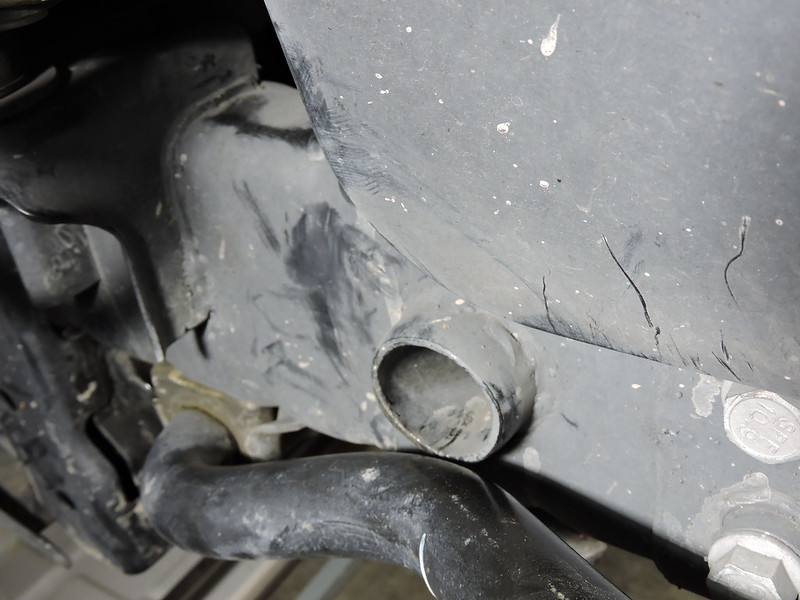
The sway bar would only go up until it got to this pipe sticking through the frame. When I moved the sway bars back down, I noticed this:
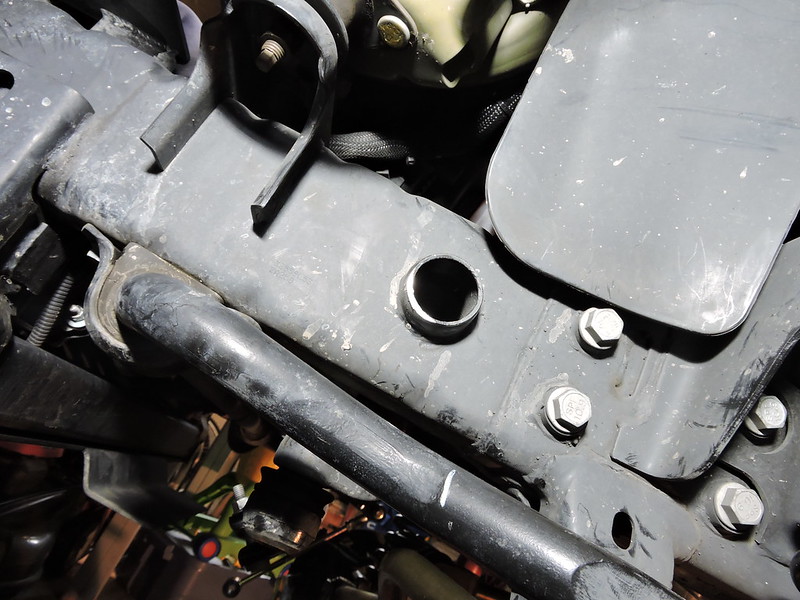
I’m pretty sure that tube sticking through the frame isn’t really supposed to be shiny! So over the last who knows when, apparently my sway bars have gotten up high enough to rub on that pipe, on both sides. the bracket is intended to go forward of that, on the frame right on the other side of that mount. without being able to move the sway bar up any higher, there’s literally no place that the sway bar end links will reach where I could mount the bracket. so out came the dremel multimax and the little angle grinder I have. on the driver’s side I had to cut off like 1/8” of an inch of the pipe. on the passenger side, a lot less work, I really only had to grind it down a touch. a touch of spray paint to cover it up, and then the actual work I intended to do could start.
installing the brackets just requires drilling a couple holes and installing some self tapping bolts. all done!

Leave a Reply